
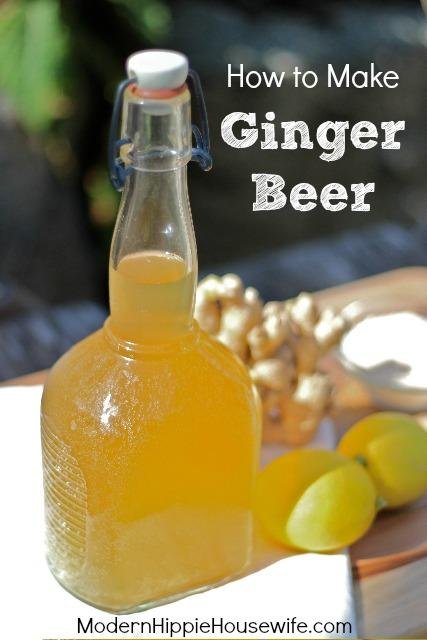
How to Make Ginger Beer

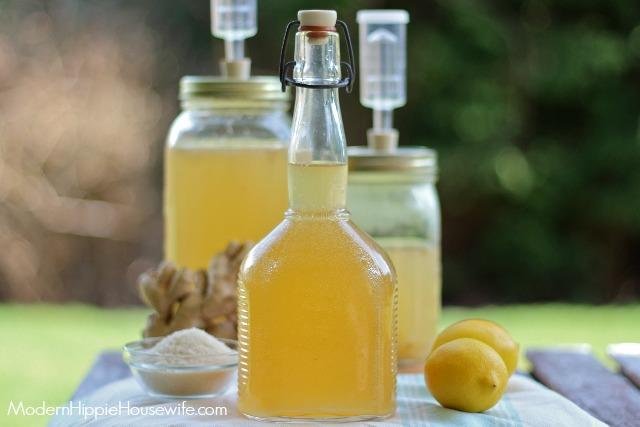
 There was a time, over half a decade ago, when I was a diet-cola-aholic. There. I said it. I'm not proud of it, but honestly, I didn't really know any better. At the time, I was going to University and enjoyed the extra caffeine kick while studying. I figured that because it had zero calories it was good-to-go, and as I mention in my "about me" section, back then, being skinny ranked higher on the priority list then being healthy.Luckily, as a grew older (and wiser), and my focus switched from outer appearance to inner health, the soda was weaned from my life.That being said, I still craved a fizzy, thirst-quenching beverage on a hot day, so I was forced to get creative! Which sparked a fermentation obsession...The fermented beverages that you'll often see bottled in grolsh-style bottles in my fridge are probiotic lemonade, kombucha and ginger beer. Although all of these beverages have very different tastes, because they're fermented, they have a few, important things in common - they all contain beneficial micro-organisms which promote gut health, digestion, mineral absorption and much more (read all about the benefits of fermented food and beverages here!)- a drastic difference from the artificially flavored, sugar-filled, and down-right toxic sodas that are on the shelves today.Unlike store-bought ginger ale, this homemade ginger beer contains no artificial flavours or colour, is low in sugar, packed with beneficial probiotics and enzymes, and contains the medicinal and healing properties of real ginger - carbonated beverages just don't get better than this.
A bit about ginger...
Ginger has been used medicinally for thousands of years. The most common use of ginger is to alleviate the vomiting and nausea associated with pregnancy, chemotherapy, colic, motion sickness, and some types of surgery. Ginger may also act as a pain reliever, soothing aches and pains caused from arthritis, back pain, menstrual cramps, upper respiratory infections and coughs.According to this article, "ginger and its constituents accumulate in the gastrointestinal tract, which supports the many observations of ginger’s effectiveness as an antinausea agent and as a possible colon cancer-preventing compound. The clinical data undoubtedly indicate that ginger is at least as effective, and may be better, than vitamin B6 in treating [upset stomach] symptoms." Ginger also appears to reduce cholesterol and improve lipid metabolism, thereby helping to decrease the risk of cardiovascular disease and diabetes (source).Web MD states that, "researchers believe the chemicals work primarily in the stomach and intestines, but they may also work in the brain and nervous system to control nausea."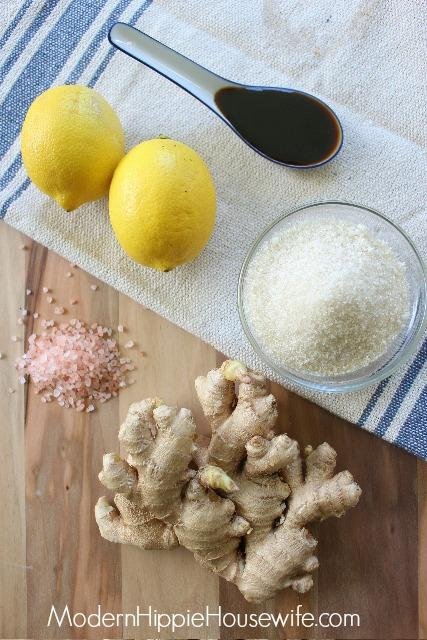
Homemade Ginger Beer: How Does it Work?
If you're unfamiliar with fermenting, I would recommend taking a quick read through this article, Fermentation 101: The Very Basics on Fermenting Food. Fermentation is very much a science, and there are many factors that come in to play during the process which are important to know so that you can remedy unexpected situations.Ginger Beer is created from combination of fermented ginger (beneficial microorganisms) and sugar (the food). During the fermentation process, which takes place in the presence of a warm, clean, and oxygen-free environment, beneficial microorganisms break down the sugar, turning it into CO2, hence the carbonation, and lactic acid.Securing the mason jar with proper fermenting tools, like an airlock, allows the carbon dioxide and oxygen to escape without letting any oxygen back in. The alternative would be secure it with a tight fitting lid, and "burp" it everyday ("burping" is a word fermenters use to describe lifting the lid briefly to release the pent up gases), but this also lets in oxygen which isn't ideal, however, this method has worked for me in the past.After a few days in an ideal environment, your fermenting concoction, which is almost ginger beer, should be much less sweet, due to the break-down of sugar to CO2, and fizzy. At this stage, you'll want to bottle it and transfer it to the fridge, where it will continue to ferment, but at a much slower rate.It will keep indefinitely in the fridge, although pressure from CO2 will continue to slowly build up in the bottle if you don't release the cap from time to time.Note: I found a "forgotten" of ginger beer in the back of my fridge when moving, and when I opened it, it shot out of the bottle like a old faithful and almost gave me a heart attack.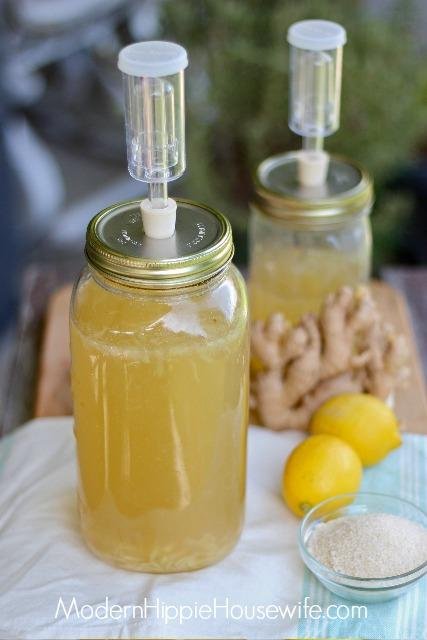
Homemade Ginger Beer: A Two-Step Process (printable recipe at bottom of page)
Like many fermented foods and beverages, in order to make ginger beer, you need a starter culture (like a whey for probiotic lemonade or yogurt for yogurt).The starter culture for ginger beer is a "ginger bug" which you can learn to make HERE! See you in 5-7 days :)Once you've made your bubbly ginger bug, you can start making your ginger beer!
You'll Need
8 cups water, cold (filtered or spring - just make sure it's chlorine free, as chlorine could prevent fermentation)1/2 cup lightly refined organic cane sugar (if you're using white sugar, add 1 tbsp of molasses)1 tbsp molasses (optional - added for additional colour, flavour, and "food." Add if you're using white sugar)3 tbsp fresh ginger, grated (peel if not organic)1/2 tsp pink Himalayan salt or sea salt1/2 cup Ginger Bug (juices + ginger)1/2 cup fresh lemon or lime juiceMason jars with wide mouth for fermenting (I use a 1 gallon and a 500 ml jar)Ferment tools starter kit (optional, but will make your life easier and your finished product more consistent)2-3 x grolsch style bottles
How it's made
First, you need to make a "wort." To do this place, 2 cups water, sugar, molasses (if using), fresh ginger, and salt in a medium-sized pot and bring to a boil. Simmer for 5-7 minutes.Remove from heat, add the remaining cold water and bring to room temperature.Add the lemon or lime juice and ginger bug.Transfer to wide-mouth mason jars for fermenting, leaving a couple inches of at the top, and secure with a FermentTools lid, air lock, stopper and gasket, which you can find in FermentTools Starter Kit. If you don't have any fermenting tools, sure the jars with a tight fitting lid and "burp" daily. Leave to ferment for 2-3 days in a warm place in your home. If your home is on the cool side, the fermentation process will be longer. It's ready to strain, bottle and transfer to the fridge when you can see carbonation and it tastes only mildly sweet.It will keep indefinitely in the fridge, although pressure from CO2 will continue to slowly build up in the bottle if you don't release the cap from time to time.
About FermentTools!
FermentTools, as it's name suggests, sells quality tools for fermenting, which now that I have, I don't know what I did without.Like I mentioned before, and in my Fermentation 101 post, fermentation takes place in a specific environment - warm, clean, and free form oxygen. And although the "warm and clean" part is up to you, FermentTools can provide you with the equipment you need to keep your fermenting food and beverages away from oxygen.Fermentools uses airlocks to keep the outside air away from the submerged food and beverages, thus producing carbon dioxide and lactic acid. Carbon dioxide is heavier than air and will be trapped in the container. The more carbon dioxide that is produced, the more air that is pushed out and kept out of the container via the airlock.Aside from airlocks, FermentTools also offers glass weights which submerge food beneath the brine, providing and anaerobic environment for fermentation to occur. They also supply fine ground, pink Himalayan salt which, with over 80 trace minerals, is ideal for basic brines.Buy your FermentTools Starter Kit HERE!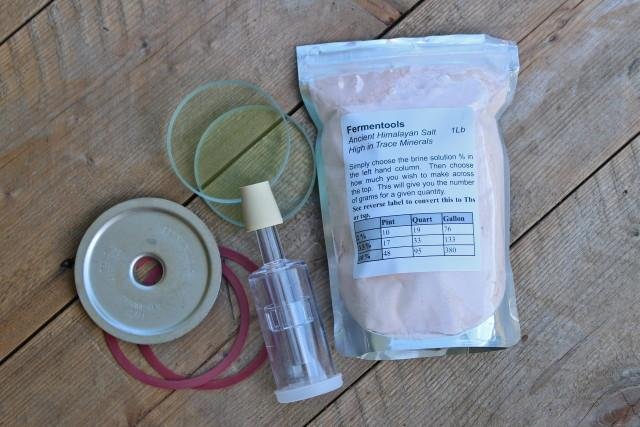
Print the Recipe!
- 8 cups water, cold (filtered or spring - just make sure it's chlorine free, as chlorine could prevent fermentation)
- 1/2 cup lightly refined organic cane sugar (if you're using white sugar, add 1 tbsp of molasses)
- 1 tbsp molasses (optional - added for additional colour, flavour, and "food." Add if you're using white sugar)
- 3 tbsp fresh ginger, grated (peel if not organic)
- 1/2 tsp pink Himalayan salt or sea salt
- 1/2 cup Ginger Bug (juices + ginger)
- 1/2 cup fresh lemon or lime juice
- Mason jars with wide mouth for fermenting (I use a 1 gallon and a 500 ml jar)
- First, you need to make a "wort." To do this place, 2 cups water, sugar, molasses (if using), fresh ginger, and salt in a medium-sized pot and bring to a boil. Simmer for 5-7 minutes.
- Remove from heat and add the remaining cold water and bring it to room temperature.
- Add the lemon or lime juice and ginger bug.
- Transfer to wide-mouth mason jars for fermenting, leaving a couple inches of at the top, and secure with a FermentTools lid, air lock, both stoppers and gasket, which you can find in this single kit. If you don't have a
- Leave to ferment for 2-3 days in a warm place in your home. If your home is on the cool side, the fermentation process will be longer. It's ready to strain into grolsch style bottles, and transfer to the fridge, when you can see carbonation, and it tastes only mildly sweet.
- It will keep indefinitely in the fridge, although pressure from CO2 will continue to slowly build up in the bottle if you don't release the cap from time to time.